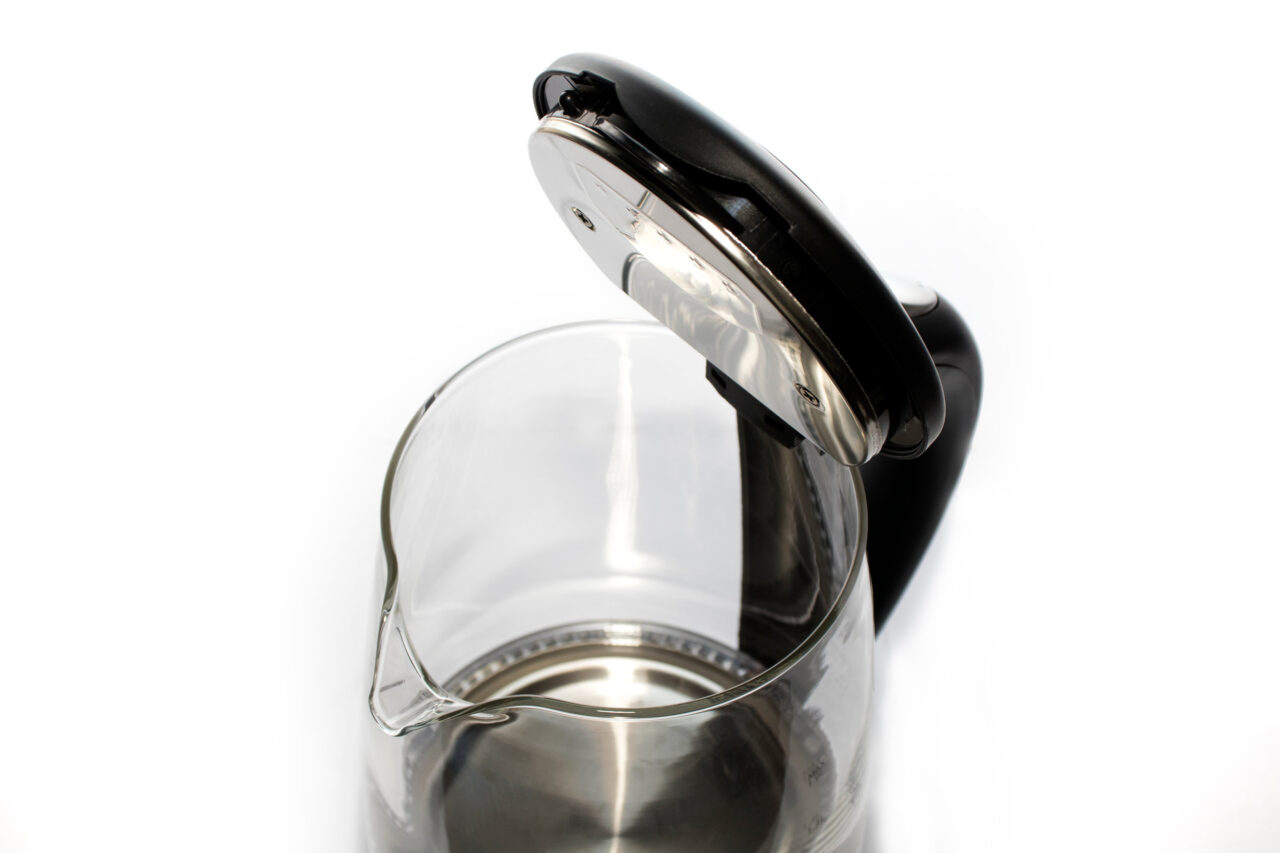
Tips For Cleaning Your Coffee Pot
Cleaning your coffee maker is one of those things that you probably do not want to think about, especially if the idea of cleaning makes you sick. However, it is an important part of keeping your machine working properly and ensuring that your coffee does not taste like last month’s charred beans. There is a right way to do this.
So, how do you properly clean a coffee pot? First, empty the machine of water and coffee grounds. Next, run a mix of vinegar and water through the machine. Once this cycle is complete, rinse the machine with fresh water and allow it to sit for one hour. Finally, wipe off the exterior surfaces of your coffee pot!
With a clean coffee pot, you are now ready to enjoy a fresh pot of coffee. Keep reading to learn more!
Preparation Before Cleaning Your Coffee Pot
Before properly cleaning your coffee maker, it’s important to take a few moments to prepare your machine for the job.
First off, make sure that you have no water in the machine – running an empty pot through won’t clean anything anyway!
Typically speaking, most machines are best prepared by brewing two pots of water with nothing but pure, white vinegar in each one. This will get rid of any extra flavors or aromas in your system and clear out any mineral deposits left over from hard water, which could affect how well your machine brews up in the future.
The next step is one that many people don’t know about: set the filter basket into its place without putting any coffee grounds into it. This way, your machine will be able to suck up all the water you pour into it through the filter, allowing for a better cleaning process.

The Cleaning Process
Now that your machine is prepped and ready to be cleaned, you can begin the job itself! But first things first – make sure you have something on hand to clean off any excess coffee grounds which might be left behind in the filter basket or around the area where it sits.
You don’t want these ground bits making their way into your pot of freshly brewed goodness once everything’s done!
So with that out of the way, let’s get down to business!
Step 1: Pour some white distilled vinegar into the reservoir and put about half an inch worth into your empty carafe before placing it back onto its base. Run this cycle if your machine has one. If not, put on the lid and turn it on – this will start a brew cycle which should be allowed to complete entirely before moving on to the next step. [In both cases, make sure you have run water through your filter basket first!]
Step 2: After allowing your carafe to fill up and once you’re satisfied that all of the vinegar is out of the reservoir and into the coffee maker, dump this water down the drain and wash out both reservoirs thoroughly before refilling them with fresh, clean water. You can then either run another brew cycle or allow it to sit for about an hour with just plain old filtered water in there so that any remaining vinegar can evaporate off.
Step 3: Once all of the vinegar is gone, your machine should be nice and clean! But before you brew another pot to taste the fruits of your labor, make sure you wipe any excess coffee grounds out of the filter basket and off the surrounding areas. And don’t forget to pour a whole lot of water through your empty carafe while you have it there so that all traces of vinegar are rinsed away before going on to brew a fresh pot.
Final Steps
Once everything has been cleaned, run at least one full cycle with just plain old filtered water for everything to heat up properly and dry out.
It is important that this heating process be allowed to take place thoroughly since mineral deposits will otherwise begin forming on inside surfaces almost immediately after being exposed to moisture.
And that’s it! Now you know how to clean a coffee maker and enjoy fresh, clean-tasting coffee for months to come. Enjoy!

How Often Should I Clean My Coffee Pot?
If you use a paper filter with your machine, there is little reason to ever open up your coffee maker for anything other than rinsing out the inside occasionally.
Paper filters trap oils from the beans that can leave a stale taste in your machine if they are not cleaned out every once in a while.
If you use a permanent filter or no filter at all, your coffee pot should be opened up about three times per year to rinse the coffee maker. This includes removing the carafe and rinsing it out so that no old coffee is left sitting around.
This is not the case if you are a daily coffee drinker. If you’re a daily coffee drinker, it’s probably best to clean your pot once or twice a month for the best results. You might need to do this more if you live in hard water area.
This will also help avoid mineral buildups which can clog up your machine’s tiny internal parts. However, if you only use your coffee pot occasionally, you’ll want to make sure not to let those residues build until they start smelling or tasting bad.
Why Is It Important To Clean Your Coffee Pot?
As time goes by, deposits start to accumulate in your appliance. These can include calcium buildup, mineral residue, random leftover pieces of beans, or even dirt if you use filtered water. When these residues sit for too long, they can leave behind both visual and taste changes to your coffee.
While one may think that it is okay to leave the residue inside, this can make your coffee pot bad at its primary function, which is making a great cup of Joe. The most common result of a dirty pot will be a decrease in flavor and aroma.
Removing old coffee residues not only makes your coffeepot more appealing to the eye but also ensures that you’ll get the most flavor out of each brew. Coffee is 99% water – there shouldn’t be any reason why your fresh pot shouldn’t taste like it!
You should also hear any warning bells going off if you hear your machine start to run longer than normal after filling it with water. If the heating element runs for too long, it will burn out, leaving you with an expensive replacement job.
When the calcium or mineral buildup gets into different parts of the machine, even more problems can occur. This is when scale begins to build up on valves or seals, letting steam leak out while brewing coffee rather than staying inside the pot to make coffee.
Regularly cleaning your coffee pot will not only help remove old residues but also leaves your morning joe tasting fresher and extend the life of your appliance by preventing mold or other buildups from forming.
In addition, this is an effective way to avoid those unpleasant-tasting mineral deposits that result from hard water.
Other Coffee Pot Cleaning Methods
Cleaning a coffee maker isn’t exactly rocket science; if you can fill up a glass with soapy water and drink it, then you can clean your coffeepot’s carafe in under 5 minutes. All you need are some household items lying around the kitchen: vinegar, baking soda, paper towels, and dish soap.
If you’d rather avoid chemicals while cleansing your brewer, there are several other effective ways that do not include vinegar or baking soda.
For instance, you can use a Mr. Coffee Cleaner Disc. It’s just as easy to use as the aforementioned natural solutions and is sold for less than $5 on most online stores.
If you have a particularly tough stain or a foul smell emanating from your coffee maker, try boiling water with lemon juice or vinegar inside the pot overnight. This should absorb any unwanted odors and dissolve any difficult stains.

Common Coffee Pot Cleaning Mistakes
One of the most common errors that seem to slip under the radar is mistakes made during cleaning. A coffee pot may look dirty after only a few weeks or even just days, but coffee grounds are actually very abrasive, and use should not be taken for granted. Coffee ground particles can dull the glass carafe, ultimately leading to more frequent replacements.
If your glass carafe has scratches or other damage, it’s best to avoid putting it in the dishwasher, as this could further damage it.
If your unit is stainless steel with plastic components inside, then you’re better off it into the dishwasher instead of hand-washing it.
Clean your coffee pot by filling the reservoir with a mixture of water and vinegar, then follow the instructions in the user manual to brew the liquid.
If you have been using chlorine bleach or rust remover in your coffee pot, that isn’t good – these products can damage plastic components present in many modern units.
In Conclusion
If you’re in the habit of neglecting your coffee pot, consider switching to an insulated model instead. These are generally made with double-walled glass reservoirs that help insulate against heat loss and make them much easier to clean when compared to traditional models.
Of course, an insulated carafe will not prevent buildup completely, but it will undoubtedly slow down the process quite a bit. Add ice cubes right before serving for best results when using an iced-coffee maker.
Cooled condensation can form on the outside, making it easier for the buildup to develop without being noticed until the next time you decide to use it.


